A wall sconce does a job no table lamp can: it lights a room from the wall, which frees up surfaces, floods a reading chair with soft light, and washes a plain wall with a gentle glow. The choice most buyers face is not style but how it is powered. A plug-in sconce runs on a cord to an outlet, and a hardwired sconce connects directly to the home's wiring behind the wall.
That choice affects cost, appearance, who can install it, whether a landlord will mind and where in the room the light can go. This guide compares the two on those points, covers the cord and cover options that make plug-in sconces look intentional, explains what an electrician actually does, and ends with a recommendation for the common situations.
The basic difference
A plug-in sconce has a cord with a standard plug, often 6 to 15 feet long, and it connects to a wall outlet like a lamp. It mounts on the wall with screws or sometimes a hook or an adhesive strip, and its weight is carried by the mount, not the cord. The light is controlled at the sconce with a switch or a dimmer knob, or by a remote, or by plugging it into a smart plug. No wiring is touched, which is why this style suits renters and beginners.
A hardwired sconce connects through a junction box inside the wall. The wires from the house circuit run behind the sconce, which is mounted on the box with a backplate, so there is no visible cord. It is controlled by a wall switch, which can include a dimmer, and it looks like part of the room rather than an add-on. Most building codes require a licensed electrician or a permit for new wiring, so the work cost is part of the decision.
The two share the same fixture styles. Many sconces are sold in both versions, and some are sold as a hardwired fixture with an optional plug-in kit. Where you see a plug-in cord on a fixture that looks hardwired, check that it is a manufacturer kit, not an improvised conversion, because the fixture may not be rated for it.
| Factor | Plug-in | Hardwired |
|---|---|---|
| Installation | Screws or hooks, no electrician | Junction box and wiring, usually a licensed electrician |
| Visible cord | Yes, can be hidden or covered | No |
| Control | Inline switch, remote or smart plug | Wall switch, dimmer or smart switch |
| Renter friendly | Yes | Rarely, needs landlord approval |
| Moves with you | Yes, take the fixture and cord | No, wall patch and cap off |
| Placement freedom | Anywhere within cord reach of an outlet | Only where a box exists or is added |
Handling the cord
The cord is the main complaint about plug-in sconces, and it is solvable. A cord cover or raceway, a slim channel painted to match the wall, runs from the sconce down to the outlet and makes the line look deliberate. Paint it in the wall color before you stick it down, and cut it to length. For a longer run, a fabric cord cover or a clip system holds the cord neatly against a corner or the edge of a bookcase.
Plan the cord path before you drill. A cord that runs straight down to the outlet reads as a clean line, while a cord that crosses a gap or sags between clips looks messy. Putting the sconce directly above an outlet, or beside a piece of furniture that screens the cord, is the neat solution. If the outlet is behind a sofa, a flat extension plug, with its screw point hidden, avoids a bulky plug sticking out from the wall.
Do not run a cord behind the wall surface unless the product is rated for it. In-wall cord kits use a special rated cable and a recessed outlet, and a standard lamp cord pushed through drywall is a fire hazard. The same warning applies to extension cords hidden under carpets. If you want the no-cord appearance without hardwiring, an in-wall rated kit installed by a qualified person is a middle route, and our guide to hiding TV wires covers the related rules for in-wall cable.
Switches, dimmers and control
A hardwired sconce works with the wall switch you already know, and it can sit on a dimmer. This is the better arrangement for a living room, because you turn on all the layers from one place. If you are adding sconces to a room with a switched outlet for floor lamps, an electrician may be able to connect the sconces to the same switch.
Plug-in sconces need a separate approach. Models with an inline switch on the cord, or a rocker on the fixture, are controlled one at a time. A remote or a smart plug lets you control a pair together, and some have a dimmer built in. A smart plug is worth a look if you want voice control or a schedule, but check that it supports the load and works with the bulb type. Our roundup of best plug-in wall sconces compares cord length and switch type.
One detail that is easy to miss: a plug-in sconce that is plugged into a switched outlet, the kind controlled by a wall switch, behaves nicely with the room, but if the sconce has its own switch left on, the wall switch controls it fully. Keep the sconce switch on, then use the wall switch. If you find yourself walking to each sconce to turn it off, that is the situation where hardwiring pays off.
Bulbs, shades and heat
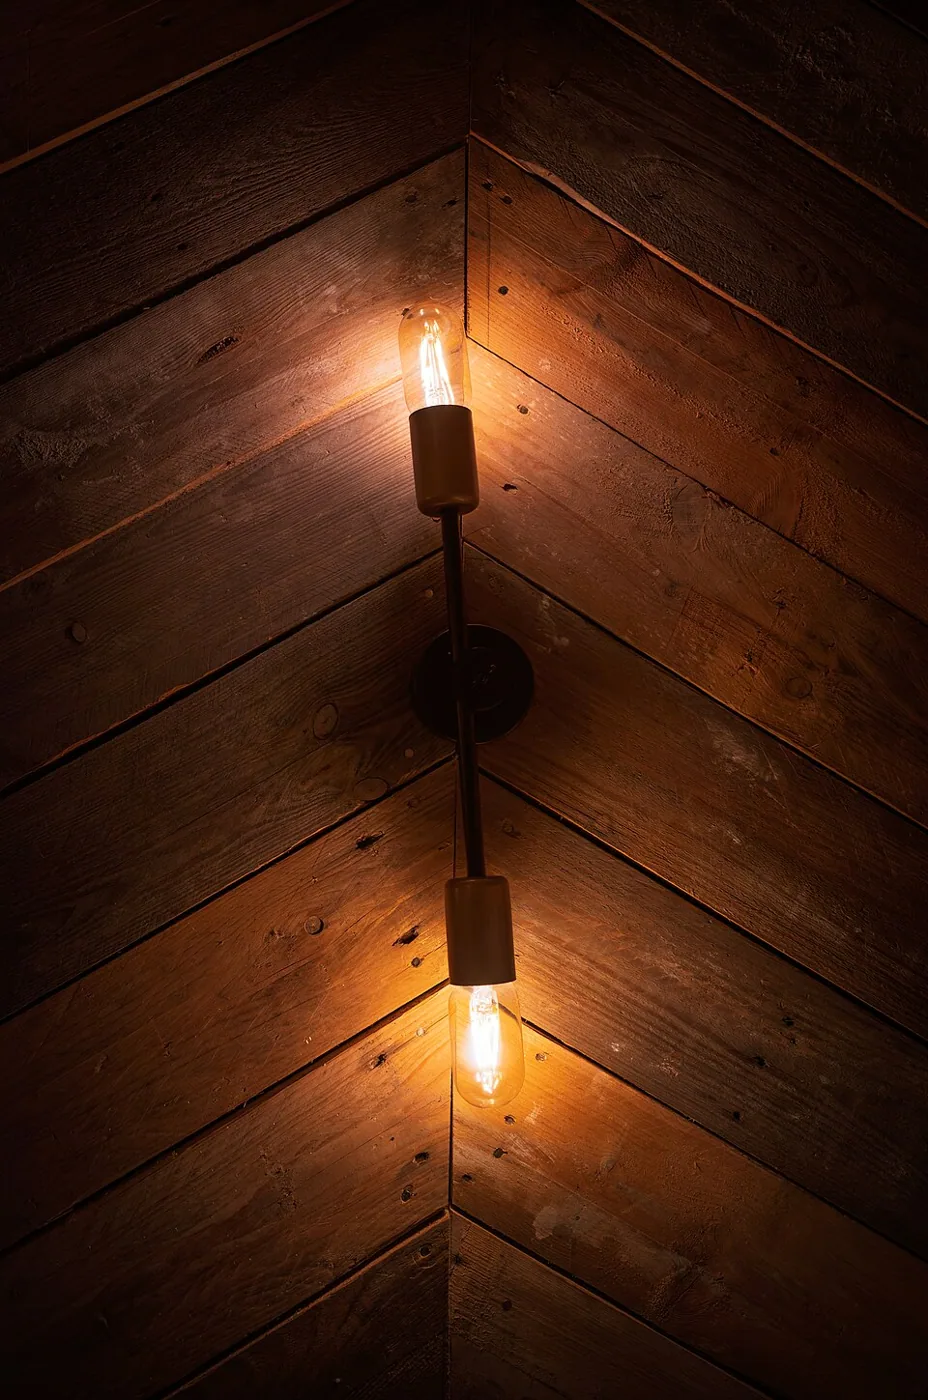
Sconces sit close to the wall and close to your head, so the bulb choice matters more than on a table lamp. A bare bulb at eye level is glaring, which is why most living room sconces use a fabric or frosted glass shade, or a design that aims light up and down so the bulb is hidden. Pick a warm color temperature of about 2700K for a sitting area, with a rated output of 200 to 450 lumens for ambient wall washing and 450 to 800 lumens for a reading sconce.
Check the socket base before ordering bulbs, because many sconces use the small E12 candelabra base, which limits the choice of bulbs and the output they can reach. Our guide to bulb base types explains how to match them. Some plug-in sconces come with an integrated LED that cannot be replaced, which is neat and cool-running, but means the whole fixture goes when the driver fails.
Heat is the quiet limit. A sconce with a fabric shade and a hot bulb in a tight space close to the wall can scorch the paint above it and age the shade. LEDs avoid the problem, but if you inherit a pair of older fixtures with a maximum wattage label, respect it. The label is about heat, not brightness, and exceeding it is a common cause of yellowed shades and melted sockets.
Checking your wall and outlet first
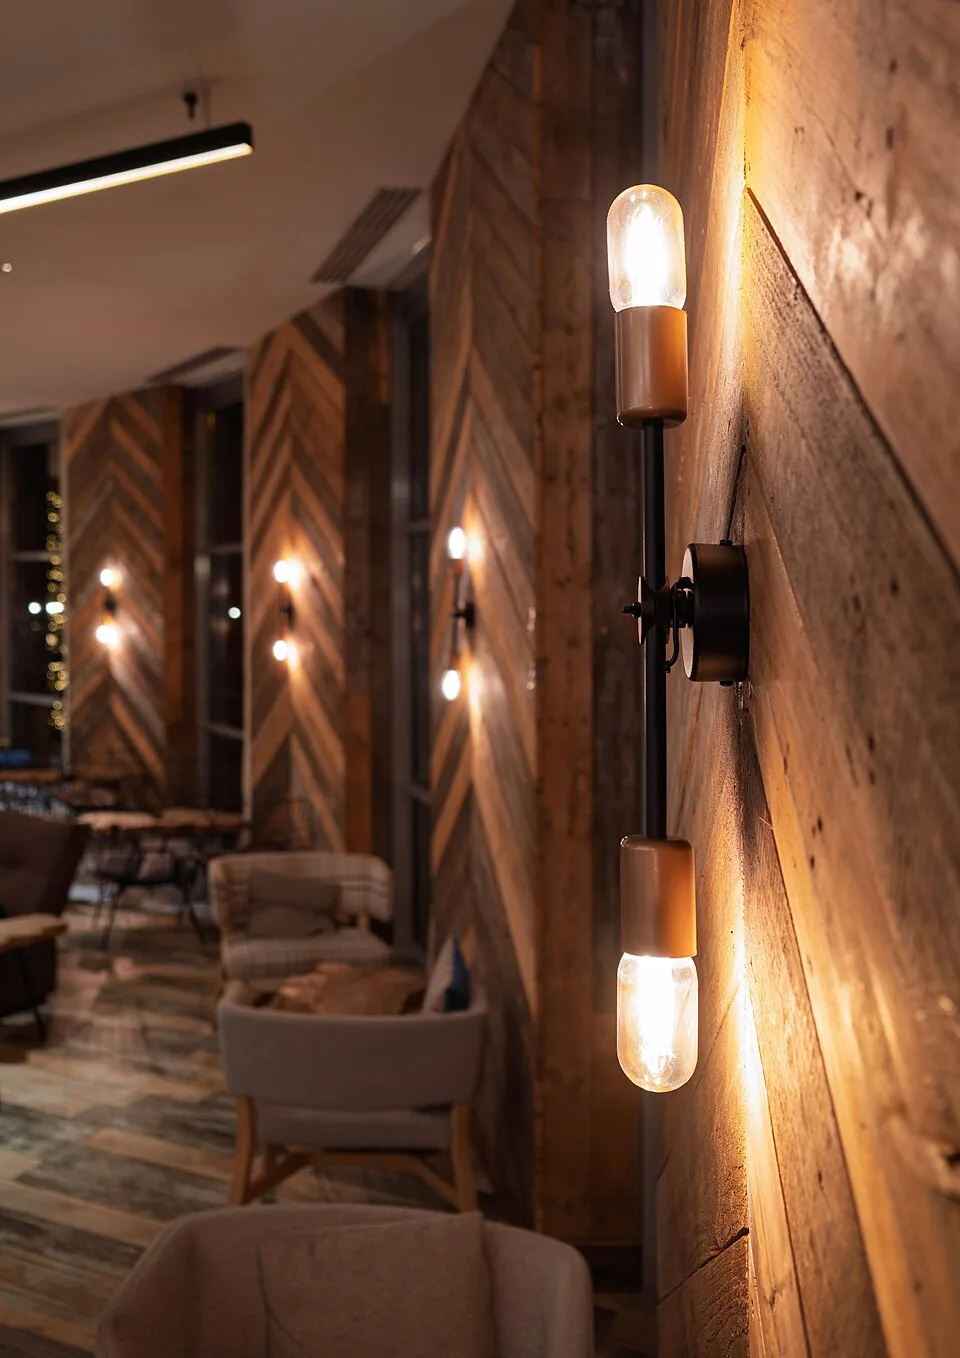
Before choosing either type, look at the wall itself. Tap along it with a knuckle and use a stud finder to see where framing lies, since studs give the strongest hold for either type. Plaster and lath, tile, brick and concrete all need different fasteners, and a plug-in sconce in a masonry wall needs a drill with a masonry bit and the right plugs. If you are unsure, test a fastener in an inconspicuous spot first.
Look at the outlet position too. An outlet that is half hidden behind a sofa or a console can still feed a sconce through a short flat cord, but an outlet on the far side of a window is out of reach. If the nearest outlet is more than a few feet from the planned spot, an in-wall rated kit or a hardwired fixture is the cleaner answer, and a long visible cord across the wall is not. Count the outlets in the room before you fall in love with a position on a plan.
Renters and temporary installs
Renters are the natural audience for plug-in sconces. They mount with two small screws and a few drywall anchors, leaving small holes that are easy to fill and paint when you leave, and they come with you to the next apartment. For a landlord who forbids any holes, adhesive-mount sconces and hook-on designs exist, but they have limits on weight and need a lightweight fixture. Check the rated weight of the adhesive product and the weight of the sconce, then leave a wide margin.
Do not hardwire in a rented home without written approval, and do not replace an existing wall fixture on your own. Most leases forbid electrical changes, and unlicensed work can void insurance. If a rented living room already has a pair of hardwired wall lights on a switch, the cheaper and safer improvement is to change the shade or the bulb type, not the fixture.
When you leave a rental, plug-in sconces are simple to remove, but plan for the wall. Fill the holes with spackle, sand and touch up with matching paint, and keep a small amount of the original paint, if you have it. Using screws into studs is the strongest hold, and where there is no stud, use anchors rated for at least twice the weight of the fixture.
What hardwiring involves
For a home owner, hardwiring is a one-time job that gives a permanent result. If a box already exists, an electrician can swap a fixture in a short visit. If there is no box, they have to cut into the wall, fish wire from an existing circuit, install an old-work box, and patch the drywall, which takes longer and adds a repair step. Pricing varies widely by region, so ask for a quote that includes patching and painting.
The electrician will also check the circuit load and the switch. They may suggest an LED-compatible dimmer, and they will confirm that the fixture is rated for the location and the bulb type. Do not accept a quote that skips the permit where one is required, because unpermitted work can cause trouble when you sell the home or make an insurance claim.
A practical tip: decide the sconce positions before the drywall is closed if you are renovating. Adding a box during a remodel is cheap, and adding one afterwards is not. Even if you buy plug-in sconces today, installing blanking boxes at the right height gives you a cleaner path to hardwire later.
Placement, whichever you choose
Height and spacing apply equally to both types. For reading, the bottom of the shade or the light source should usually sit about 55 to 60 inches above the floor beside a seated reader, and sconces flanking a sofa or art are often placed 60 to 66 inches to the center. Our wall sconce height guide has more detail on each case. For a plug-in set, make sure the cord reaches the outlet without a visible stretch, and leave about a foot of slack.
Think about the layer the sconce provides. A sconce that casts light up and down gives ambient glow and washes the wall, while a swing arm sconce gives task light for a chair. In a plan with several layers, as described in layered lighting for a living room, sconces often fill the gap between overhead and table lamps, and they work best on a switch or a dimmer so you can set the level.
Frequently asked questions
Can I convert a hardwired sconce to plug-in?
Some manufacturers sell conversion kits, but a fixture not designed for it may not carry the correct safety listing. Wiring a cord and plug onto a hardwired fixture without a kit can void the listing and create a risk. If you want a plug-in version, buy one sold that way.
Do plug-in sconces use more electricity?
No. Power use depends on the bulb, not on how the fixture connects. An LED bulb draws a few watts in either type. The difference is control, since a plug-in sconce may stay on standby with a smart plug, which draws a very small amount.
How many sconces does a living room need?
There is no fixed number. Two flanking a sofa, a mantel or a piece of art is the common pattern, and a pair beside a reading chair gives task light. More than four on one wall can look crowded unless the wall is long. Choose by the job each one does.
Can a plug-in sconce hold weight on drywall?
A small sconce is usually light enough for two drywall anchors, but check the weight listed and the rating of the anchor. For heavy fixtures, screw into a stud. Do not rely on adhesive strips for anything but the lightest designs.
Is hardwiring worth it if I plan to move in a few years?
Usually not, unless the fixtures stay with the house and add to its value. Plug-in sconces take their cost with them. If you own and plan to stay, the clean look and wall switch make hardwiring a sound upgrade.
The bottom line
Rent, or want flexibility, and pick plug-in sconces with a cord long enough to reach the outlet and a cover painted to match. Own, plan to stay and have a junction box or a reason to open the wall, and hardwire them to a wall switch with a dimmer.
Whichever you choose, set the height for how the light is used and plan the cord path before you mark the wall. If you are undecided, mount a plug-in pair first, live with it for a few months, and use that experience to decide whether permanent wiring is worth doing.