Peel and stick wallpaper has changed what renters can do with a plain wall. A roll of patterned vinyl with a sticky back goes up with a squeegee and no paste, and in theory it comes down again without damage. It is also one of the most mixed products in home decor, with owners who love it and owners whose panels curled within a month. The difference is rarely the brand. It is the wall.
This guide lays out the advantages and drawbacks plainly. It covers which surfaces work and which do not, how paint type and cure time matter, how to handle seams and patterns, what humidity does to the adhesive, the risk to paint when you remove it and the situations where a traditional wallpaper, paint or a different feature is the better choice. It finishes with a method that gives the best chance of a lasting result.
What peel and stick does well
The first advantage is access. A renter who cannot paint, or who is told not to alter the walls, can add pattern and color to a living room in an afternoon. The panels peel off a backing sheet, press onto the wall and can be lifted and repositioned in the first few minutes, which is forgiving for a beginner. Because there is no paste, there is no mess and no waiting for the paper to relax.
The second is speed and low commitment. A single wall can be done in two to four hours, and the pattern can be changed when you tire of it. For a small wall, such as the back of a bookshelf, a niche, a wall behind a console or the inside of a cabinet, the cost is modest and the effect is large. It also works well as a temporary solution while you save for a proper finish.
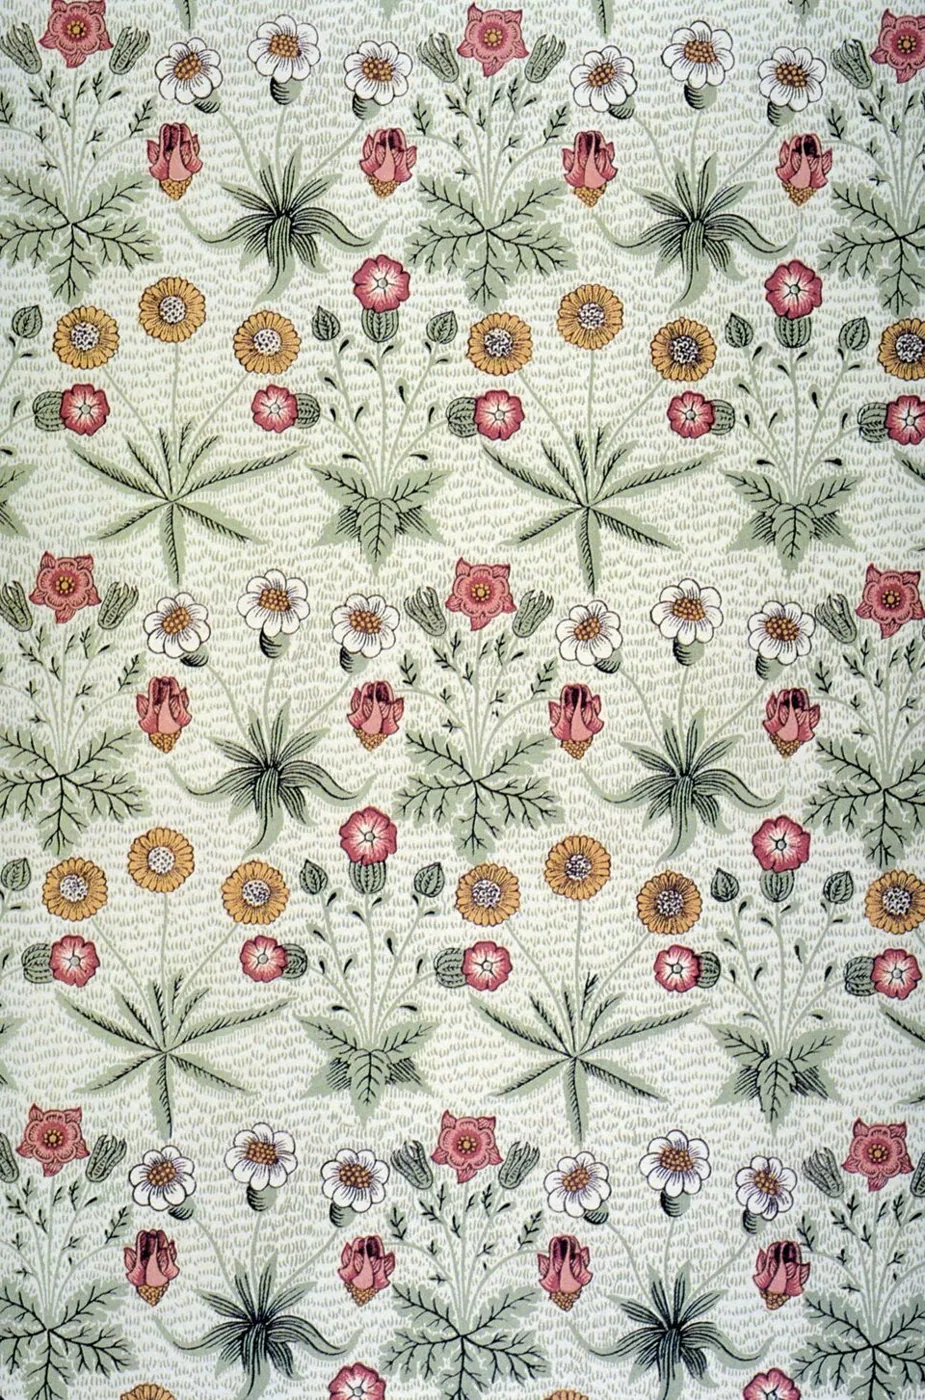
The third is variety. The range of patterns, textures and colors is wide, from botanical prints to faux brick, wood grain and stone. A textured vinyl can add depth that paint cannot. If your goal is a feature wall rather than a whole room, the product suits it, as discussed in our guide to choosing an accent wall.
| Point | Peel and stick | Traditional pasted paper | Paint |
|---|---|---|---|
| Installation | Easy, repositionable | Skilled, needs paste | Easy, needs prep |
| Removal | Peels, may pull paint | Steam and scrape | Repaint |
| Renter friendly | Often, test first | Rarely | Depends on lease |
| Fussy about the wall | Very | Moderately | Moderately |
| Seams | Visible if the wall is poor | Tighter when well hung | None |
The drawbacks
The central drawback is that the adhesive depends entirely on the wall. A smooth, clean, well bonded surface holds it well, and almost anything else invites trouble. Walls with a rough texture, such as orange peel or knockdown, give the adhesive little contact area, so panels bubble and lift at the edges. Dust, grease and old paint that is flaking all reduce the grip.
Seams are the second. Where two panels meet, a slight gap or overlap shows, particularly on a plain or high contrast pattern. Patterns that need matching create waste, since the repeat must line up across panels. A wall that is not perfectly straight makes the edges drift, and a corner that is not plumb leaves a visible wedge at the top or bottom. The panels cannot hide these flaws as thick paper can.
The third is lifespan. Some panels stay flat for years, and some curl at the corners within weeks, especially near a heat source, a window with direct sun or a humid kitchen. Thin or cheap products tend to stretch, tear and yellow. The fourth is removal, which is advertised as clean but is not guaranteed. On a wall with poor quality paint, the adhesive can pull the paint off with the panel, leaving patches to repair.
The surface decides everything
The best surface is a smooth wall painted with a good quality satin or semi gloss paint that has cured fully. The adhesive bonds to the paint film, so a hard, slightly glossy surface grips better than a soft matte one. Flat or matte paint has a chalky, porous finish that gives a weaker bond, and walls painted with a paint and primer in one can also be a problem. Our guide to paint sheen for living room walls explains how finishes differ.
Cure time matters. Paint can feel dry within hours but takes several weeks to harden fully, and many makers of peel and stick products advise waiting about four weeks after painting before applying. Fresh paint releases fumes and moisture that can weaken the adhesive and cause the panel to lift later. If the wall was painted recently, wait, or choose a different feature.
Clean the wall with a mild detergent solution, rinse and let it dry fully. Remove dust, grease and any loose paint. Fill holes and sand rough spots, then wipe again. A wall that has been scrubbed with a harsh cleaner may carry a residue, so rinse well. Textured walls, wallpapered walls and walls with a glossy oil based finish all need special thought, and a test panel is the best guide. Avoid walls that have been treated with a stain blocking primer or a wax.
Test before you commit
Order a sample, or use an offcut, and stick it on the wall in a spot that is out of the way, such as behind a door or in a cupboard. Leave it for at least a week, and preferably two, through a change of weather and heating. Check whether the edges lift, whether it bubbles and, when you peel it off, whether it takes any paint with it. This test tells you more than any review.
Test the removal too. Peel the sample slowly at a low angle, applying a little heat from a hair dryer on low, which softens the adhesive. If the paint comes off with it, you know the wall is not suitable, or that removal needs more care. A wall that passes the test is likely to hold, and a wall that fails is better treated with a different approach.
Take a photo of the sample in different light. Pattern and color change with light, and a swatch under shop lighting may look different in a living room with a north window. Keep the sample on the wall while you live with it, and ask yourself whether you like the pattern after a few days. A pattern you tire of quickly is a poor use of a few hours of work.
Choosing the product and the pattern
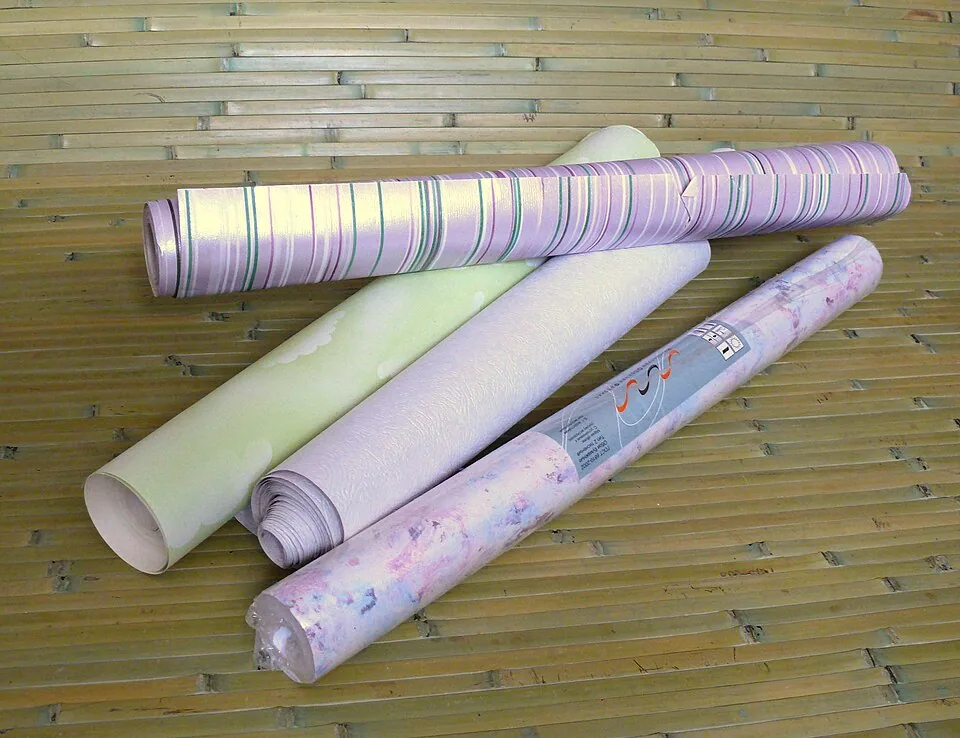
Thickness is the best quick guide to quality. A thicker, more flexible vinyl resists tearing, hides small flaws in the wall and handles repositioning, while a thin film stretches and wrinkles. Look for a matte or lightly textured surface, which hides seams and reflects less light than a gloss. A slightly textured finish also hides minor wall flaws, and a smooth gloss exaggerates them.
Pattern choice affects the work. Random or organic prints, such as clouds, marble or botanical patterns without a strict repeat, are forgiving, since a small mismatch at the seam is hard to see. Stripes, grids and geometric patterns need exact alignment and punish a wall that is out of square. A pattern with a large repeat produces more waste, so buy extra panels, and keep the leftover for repairs.
Think about scale and color against the room. A large pattern on a small wall can feel overwhelming, and a tiny pattern on a large wall looks busy from a distance. Dark and bold prints suit a feature wall behind a sofa or a bed, while pale patterns fit a calm room. If the room already has patterned fabrics, keep the wall quiet, and look at our guide on choosing an accent wall for the balance.
Check the product details before buying: the width and length of each roll, the repeat size, whether it can be repositioned, whether it is washable and whether it is rated for the room. Order from a seller with a clear return policy, since a color on a screen may differ from the real thing. Buy all the rolls at once from the same batch, to avoid color variation between production runs.
Installing it well
Plan the layout before you peel. Measure the wall, find the center, and decide where the first panel goes so the pattern is balanced and the seams fall in sensible places. A level or a plumb line is essential, because a crooked first panel makes every later one crooked. Mark a vertical line with a pencil, and start at the center, or at a corner that is the most visible.
Peel the backing in stages, starting at the top, and smooth the panel down with a squeegee or a soft card, working from the center outward to push out air. Keep the panel taut but not stretched, since stretching distorts the pattern and the panel shrinks back. Overlap the next panel slightly to match the pattern, or butt the edges, according to the instructions. Trim excess at the ceiling and baseboard with a sharp blade and a straight edge.
Work around switches and outlets with care. Turn off the power, remove the plate, cut the panel to fit and replace the plate. Do not cut over the live part of a socket. If a bubble appears, lift the panel gently and re smooth it, or prick the bubble with a pin and press the air out. Do not use too much pressure, because it can leave marks on a soft vinyl. Allow the adhesive to set for a day before you hang anything on the wall.
Humidity, heat and sun
Moisture and heat weaken the adhesive. Kitchens, bathrooms and rooms with condensation on the windows are poor places for peel and stick, and the edges lift within weeks. A living room is a better location, but be wary of a wall that backs onto a bathroom, a wall with damp or a wall above a radiator. Fix any damp issue first, since no wallcovering will hide it.
Direct sun is a further hazard. A wall that receives strong afternoon sun can get warm enough to soften the adhesive, and the sun fades some prints. Check the wall at different times. Heat sources such as a fireplace, a radiator or a heater under the wall can cause curling, so keep the paper a safe distance away, or choose another wall.
Temperature during installation counts. Most products need the wall and the room to be at a moderate temperature, roughly room temperature, when you apply them. A cold wall and a cold panel do not bond well, and a very hot room makes the adhesive too soft. Keep the room at a steady, comfortable temperature for the day of the job and the day after.
Removing it without damage
Peel slowly, at a low angle close to the wall, rather than pulling straight out. Warm the panel with a hair dryer on a low setting to soften the adhesive, and work in sections. If the paint begins to lift, stop, warm the area again and ease the panel back. Any adhesive residue can be removed with warm soapy water or a gentle adhesive remover, tested in a hidden spot first.
If paint does come off, you will need to repair the wall. Sand the edges smooth, fill any gouges, prime and repaint. A rental may have conditions about wall repair, so check the lease and photograph the wall before and after. Keep a little of the original paint if you can. If you plan to remove the wallpaper before moving out, allow time for the repair.
The risk is higher on cheap builder paint, which often bonds poorly to the wall. If you know the paint is low quality, consider painting the wall with a better paint first, which solves the problem but defeats the rental friendly idea. In that case, a framed print, a tapestry or a rented wall panel may be a cleaner choice, and our guide on hanging curtains without drilling shows other no damage options.
Frequently asked questions
Does peel and stick wallpaper damage walls?
It can, particularly on poorly bonded or cheap paint, where removal may pull paint off. On a well painted, cured wall, it usually comes off cleanly. Test a sample first.
How long does it last?
Anywhere from months to several years, depending on the product and the wall. Smooth, clean, dry walls give the longest life, and humid or textured walls the shortest.
Can it go on textured walls?
Light texture may work with a thick, flexible product, but heavy texture such as orange peel or knockdown usually fails. A skim coat or a liner is needed, which removes the benefit of easy removal.
How long should I wait after painting?
Many makers advise about four weeks for full cure. Check the product instructions, and test a small panel if you are unsure.
Is it a good choice for a whole living room?
Usually not. One feature wall is easier, cheaper and less risky. Covering all four walls multiplies the seams and the chance of lifting, and the look can feel heavy. Our guide to the 60-30-10 color rule helps keep the balance.
The bottom line
Use peel and stick wallpaper on one smooth, clean, fully cured wall in a dry room, after a week of testing a sample. Plan the layout, work from the center and smooth out air as you go.
Avoid textured, humid or freshly painted walls, and do not expect miracles on poor paint. If your wall fails the test, choose paint, a framed piece or a freestanding screen instead, and keep the wallpaper for a better surface.