A good painting or print on a wall of a living room can look flat for most of the day and come alive for an hour after dark, when a single well placed light picks out its color and texture. A poor light does the opposite: it throws a glare across the glass, washes out the top of the picture and leaves the bottom in shadow. The difference has little to do with how much you spend and a lot to do with the type of light, its distance and its angle.
This guide compares the three main ways of lighting art, a picture light on the frame, a ceiling or track accent and a wall mounted gallery light. It explains beam angle, heat and ultraviolet exposure, how to size and place a light, how to wire it in a home where you cannot cut into the wall, and what to do about pieces under glass.
Three ways to light a picture
A picture light is a slim bar or a curved arm that attaches to the top of the frame or to the wall above it. It aims light down across the face of the picture, and it is the traditional choice for a single painting over a fireplace, a console or a sofa. It makes the art a focal point, and the fixture itself becomes part of the display, in brass, black or bronze finishes. It is easy to move, and several models are battery powered or plug in.
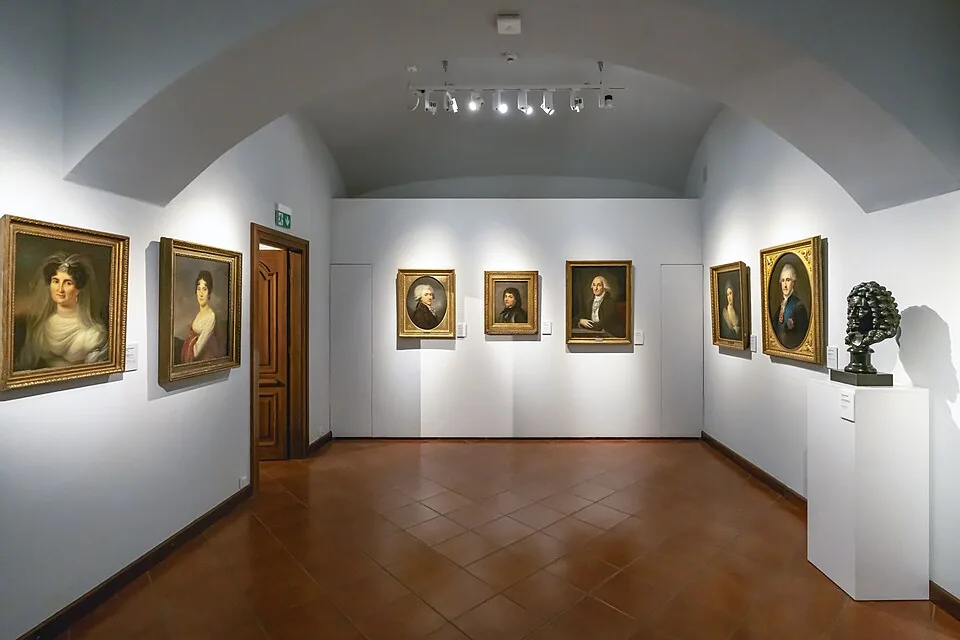
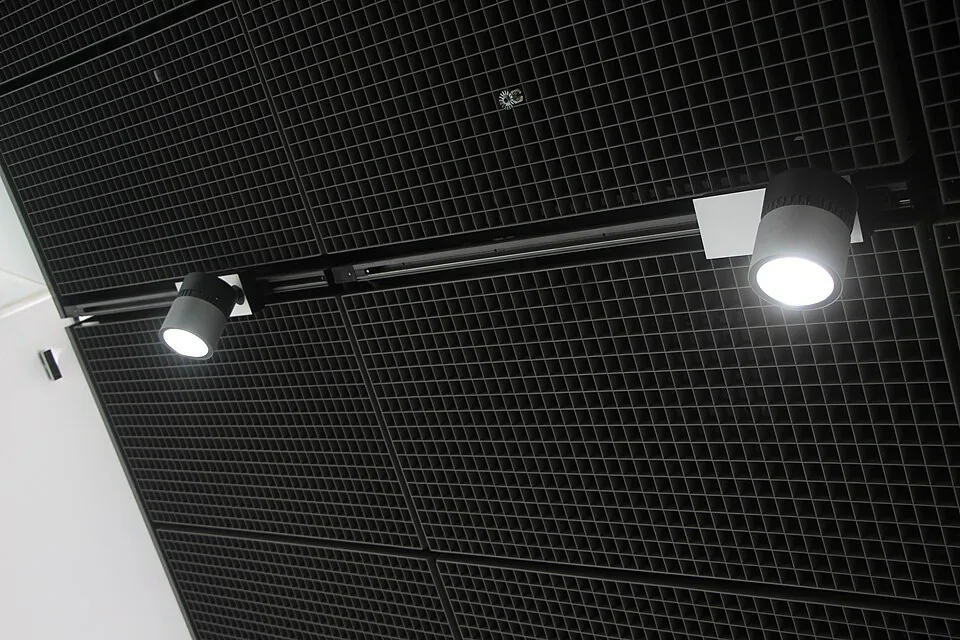
A ceiling accent is a small recessed or surface spot aimed at the wall. It leaves the frame clean and is invisible when the light is off, which suits a modern room. It needs a ceiling box in the right position, which is hard to retrofit, and the angle must be right at the point where the beam meets the picture. Track heads are the flexible version, and our guide to track lighting for living rooms explains spacing and aiming.
A wall mounted gallery light is a fixture on an arm projecting from the wall, usually aimed at one picture. It has a more formal, museum look and throws light from further out, which can reduce glare. It requires a wired or plug-in connection at the wall, and a long cord is a visible compromise. For a rented home, a battery or plug-in picture light is the simplest route.
| Method | Best for | Install | Main drawback |
|---|---|---|---|
| Frame or wall mounted picture light | One key piece, a fireplace or console | Screws or hooks, plug or battery | The fixture is visible, cord may show |
| Ceiling accent or track head | Several pieces, changing displays | Ceiling box or track needed | Aim and glare take care |
| Wall mounted gallery arm | Large pieces, formal rooms | Wired to the wall or plugged in | Projects into the room, cord |
| Frame integrated light | Small rooms, a neat look | Often battery powered | Fewer choices, limited brightness |
Beam angle and the glare problem
The central problem with lighting a picture is reflection. Paintings under glass, and even oil paintings with a glossy varnish, act partly as a mirror. When the light hits the surface at a shallow angle from above, it reflects away from the viewer, and you see a clean picture. If the angle is too steep, close to straight on, the reflection travels straight back at your eyes and a hot spot hides the image. The standard aim is about 30 degrees from the vertical, measured at the center of the picture.
For a picture light on the frame, the fixture projects from the wall by a fixed distance, so the angle depends on the arm length and the picture height. A tall picture needs a longer arm or a broader beam to reach the bottom edge, and a small picture needs a shorter arm and a narrower beam. If the light only covers the top two thirds, the bottom of the picture will look dark, so check coverage in the evening and adjust the tilt.
Beam width is a separate choice. A narrow beam of about 15 to 25 degrees concentrates light and suits a small picture, while a wide flood of 40 degrees or more suits large work or a group. The aim is to light the whole piece with an even fall off at the edges, without a bright disc in the middle and a dark outer rim. Our gallery wall layout guide adds more about lighting groups, where one wide wash often beats many small lights.
Heat, UV and the life of the artwork
Light damages art. Ultraviolet and visible light fade pigments, yellow paper and weaken textiles, and heat dries and cracks varnish and canvas. Old halogen picture lights ran hot and emitted UV, which is why conservators have long warned against them. Modern LEDs emit almost no ultraviolet and little heat in the beam, and that is the main practical reason to choose LED for anything you care about.
Even so, some care is useful. Keep the fixture a few inches from the surface of the picture, avoid leaving the light on all day, and put it on a timer or a switch so it only runs when you are in the room. Valuable works on paper, photographs, watercolors and textiles are the most sensitive, and these should also stay out of direct sunlight from a window. Daylight is a larger source of fading than any lamp.
If you own a piece of significant value, consult a conservator or the dealer about maximum light levels. Museums treat works on paper very cautiously, using low light, and a home does not need to copy that, but it is wise to remember that more light is not always better. A modest, well aimed light looks better and protects the work longer than a bright one.
Sizing and mounting a picture light
The fixture should be about half to two thirds of the width of the frame. A 36 inch wide picture takes a light of roughly 18 to 24 inches. A light that is nearly as wide as the frame looks heavy and may cast a flat bar of light across the top, and one that is too small leaves the corners dim. For a group of small pictures, treat the group as one and light it from above with a wider fixture.
Mount the light above the frame, with its center aligned to the picture, and keep the arm length in proportion to the work. A short arm of 6 to 8 inches suits a small piece, and 10 to 14 inches suits a large canvas. If the picture hangs over a sofa, check the headroom, since a person leaning back should not hit the arm. The advice on height in our guide to hanging art above a sofa applies, because the light adds to the top of the piece.
A screw into a stud or a drywall anchor holds a small picture light, and its weight is modest. Where you cannot drill, there are lights that rest on the top of the frame and run on batteries, and some that clip to the frame itself. Check that the frame can carry the weight, since a thin frame can be pulled forward and tilt. For a heavy frame plus a light, review the hanging hardware, as discussed in our piece on hanging a heavy mirror.
Power: battery, plug-in and hardwired
Battery lights are the easiest route, and they need no cord. They run on rechargeable cells or disposable batteries, with a switch or a remote and often a timer. The limits are brightness and run time, since a battery light on for several hours a day needs frequent charging, and a remote can get lost. They are a good fit for a small piece in a rental, and for places where there is no outlet nearby.
Plug-in lights run on a cord to an outlet, which gives steady brightness and no charging. The cord is the weak point, and a cord cover painted to match the wall helps. Some models have an in-line switch and a dimmer. Our guide to plug-in and hardwired sconces explains how to handle cord paths, and the same techniques apply here.
Hardwired lights connect to a junction box and a wall switch, and they give the cleanest result, but they need an electrician. They are worth it when the picture is permanent, such as over a fireplace, and where a switch and dimmer will be used every day. Plan the box position at the same time as the picture height, because moving a box after the wall is patched is expensive.
A test you can do in ten minutes
Before you commit to a fixture, borrow a small flashlight or a clip lamp and hold it where the picture light would sit. Turn off the room lights after dark, and look at the picture from the sofa, from the doorway and from standing height. Move the light a few inches closer to the wall or further out, and tilt it, until the whole surface is lit without a visible hot spot. Mark that position with a pencil, and you have the location for the real fixture.
Take a photo from each spot with your phone and look at it on a screen. A camera exaggerates glare, so a reflection that is faint to your eye may show as a white patch, and that can warn you of a problem when a guest takes a photo of the room. If a reflection appears only from one seat, accept it and choose the angle that favors the seats you use most.
Finally, think about daytime. A picture light is a night feature, and the picture should look good by daylight too. If sunlight strikes the picture for part of the day, consider a shade or a UV filtering film on the window, because the sun does more harm than any lamp. A picture that is lit well at night and bleached by noon sun is a poor trade.
Color, CRI and brightness
Choose a warm to neutral white, around 2700K to 3000K for most living room art, and a CRI of 90 or higher so that colors in the picture look true. A low CRI source will gray out the reds and flatten the skin tones in a portrait. Our explanation of CRI for home lighting covers how to read the number.
For brightness, aim for the art to be somewhat brighter than its surroundings, but not by a lot. A good starting point is a light of 200 to 500 lumens for a single medium picture, with the ability to dim. A dimmer lets you adjust to the daylight in the room and avoids a harsh effect at night. Check that the dimmer is compatible with the light, as battery models often have their own control.
Special cases: glass, dark frames and mirrors
Pictures under glass are the hardest. Non reflective or museum glass reduces the problem, but it costs more, and anti glare coatings are never perfect. If the picture is under standard glass, aim from a steeper angle and further out, and check the reflection from each seat. Matte or canvas works have no glass and are far easier to light.
Dark frames and dark pictures soak up light, so they need a little more output and a slightly narrower beam. Very light pieces, such as a white on white print, can wash out and need less. A picture over a mirror or next to a glossy surface can pick up stray reflections, so check the room from several positions.
Frequently asked questions
Do picture lights damage paintings?
Modern LED picture lights emit very little heat and almost no ultraviolet, so they are low risk. Old halogen lights were a real problem. Keep the light on only while you use the room, and keep sensitive work out of direct sunlight.
How far from the picture should the light be?
Mount the light on an arm that projects about 6 to 14 inches from the wall, depending on the height of the picture, and aim at roughly 30 degrees. If you see glare on the glass, move the light further out or tilt it.
Is a picture light better than a track spot?
For one piece, a picture light is simpler and looks more intentional. For several pieces or a wall that changes, a track or ceiling accent is more flexible. The choice depends on the install, since a ceiling spot needs a box in the right position.
Can I light a picture without any visible fixture?
Yes, with recessed or track spots aimed at the wall. The fixture stays on the ceiling, but you need a ceiling box and a careful aim. A battery operated light that sits on the frame is a smaller fixture that disappears into the frame.
What color temperature should I use for art?
Between 2700K and 3000K suits most living rooms, with a CRI of 90 or more. Match the temperature to the lamps in the room, so the art does not look cooler than its surroundings.
The bottom line
For one important picture, choose an LED picture light about half to two thirds the width of the frame, warm at 2700K to 3000K, with a CRI of 90 or more, and aim it at about 30 degrees. For several pieces, use a track or a ceiling accent and check the aim from the seats.
Use a dimmer or a timer, protect sensitive work from daylight and put the light where the picture will stay. If you rent, a battery or plug-in light with a neat cord cover gives most of the benefit without touching the wall.